
How To: Install Windows 7 on VirtualBox 2.1 – Installation details

On my previous blog posts, I cover the installation of VirtualBox 2.1 and I go over the step-by-steps to create a virtual machine to host Windows 7.
- How to: VirtualBox 2.1 Installation Guide
- How To: Install Windows 7 on VirtualBox 2.1 - Create a virtual machine
I will now go over the details to install Windows 7.
You should have the VirtualBox setup and started the virtual machine by clicking on the start button.
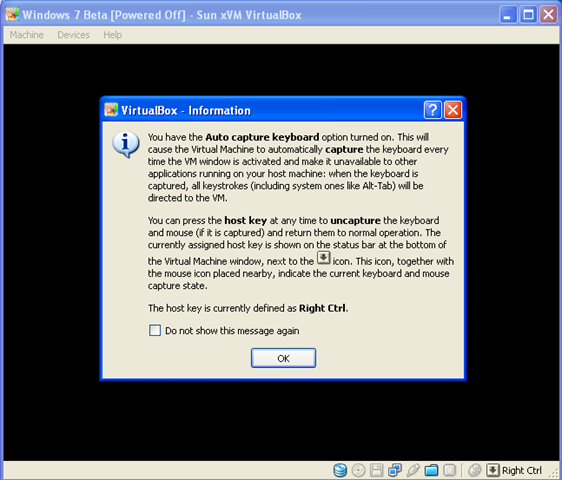
Click OK.
The first run wizard starts. Select Image File and browse your image on your drive.
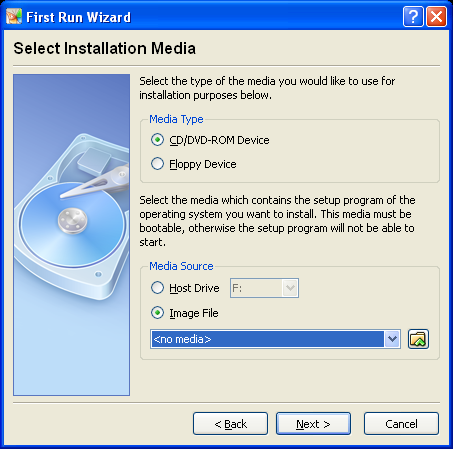
- Once you clicked the browse button, click the add button and select the ISO file for Windows 7. I am using 7000.0.081212-1400_client_en-us_Ultimate-GB1CULFRE_EN_DVD.iso
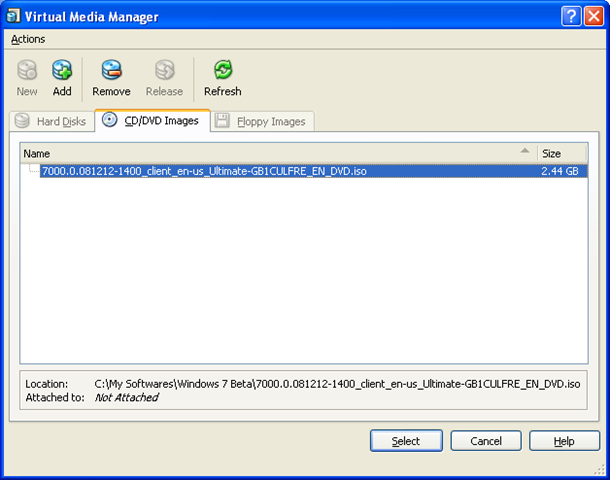
Click Select and go get a coffee.
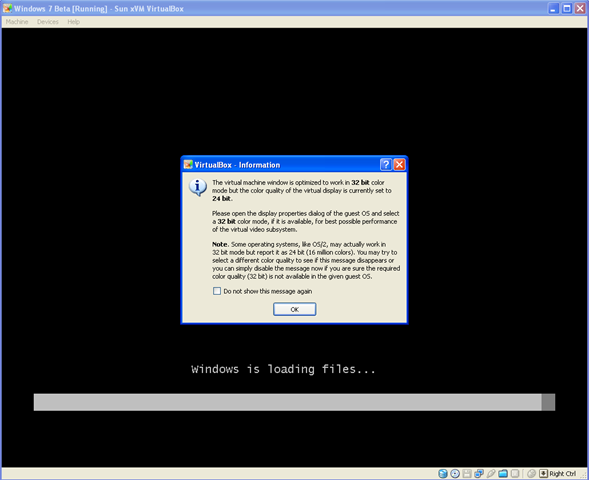
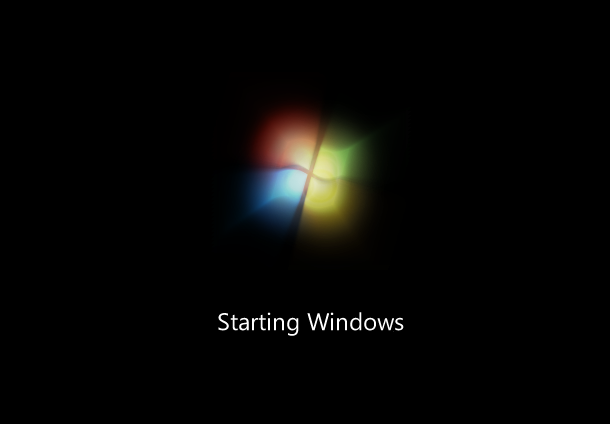
Windows is loading files.
Starting Windows
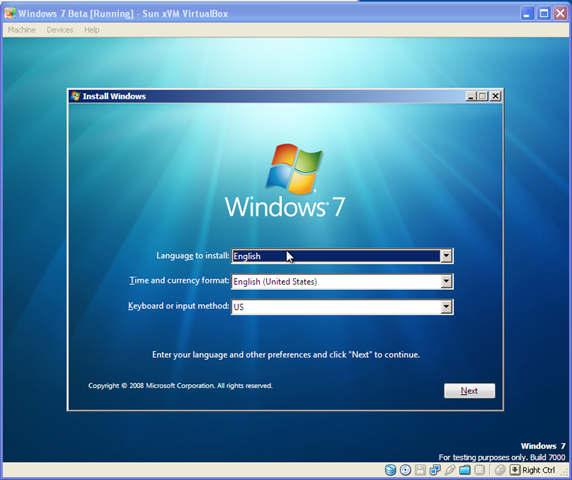
Select Regional Settings. Click on Next.
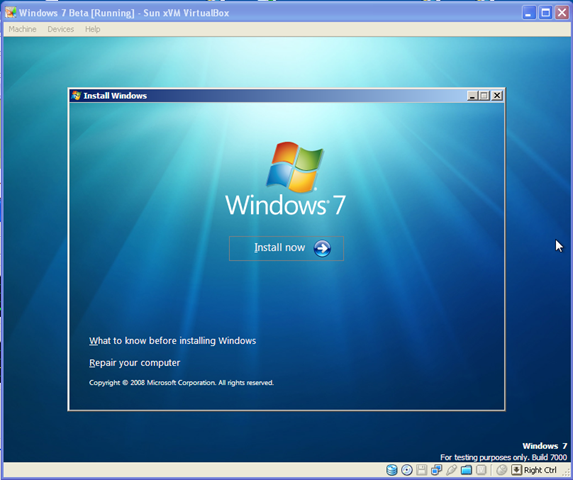
Start the installation. Click on Install Now.
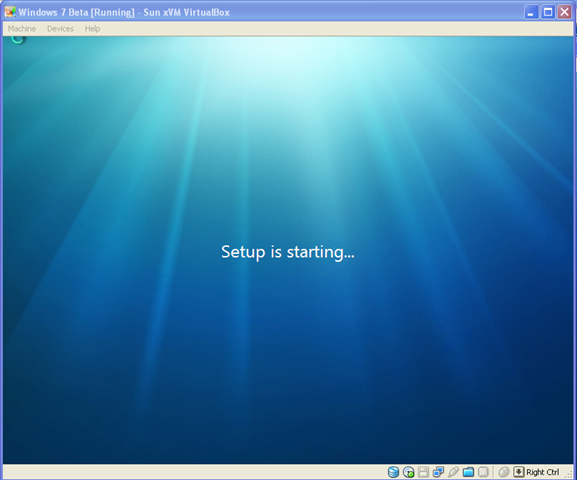
Setup is starting.
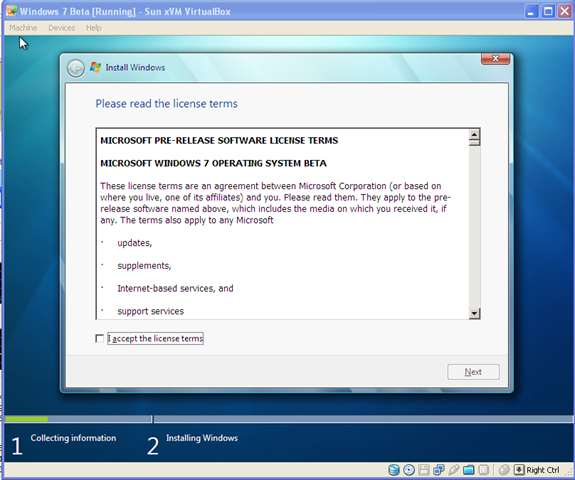
License Terms. Check I accept the license terms and click Next.
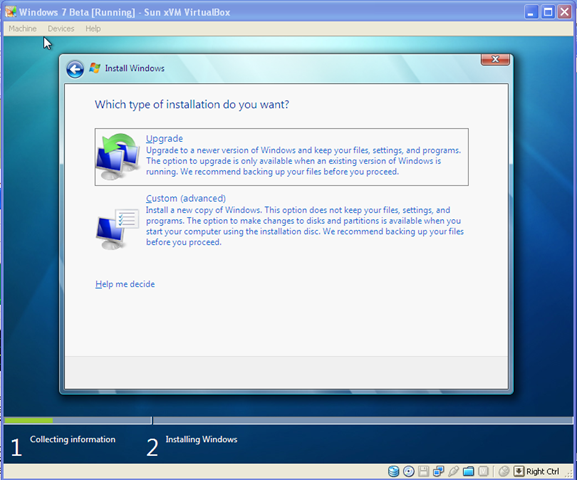
Type of installation. Click Custom (advanced).
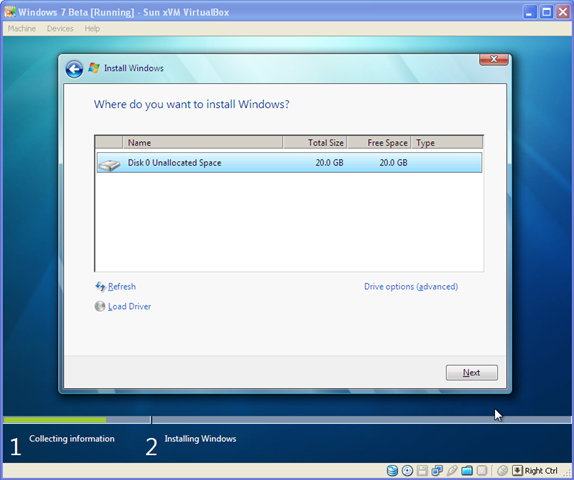
Select Installation drive.
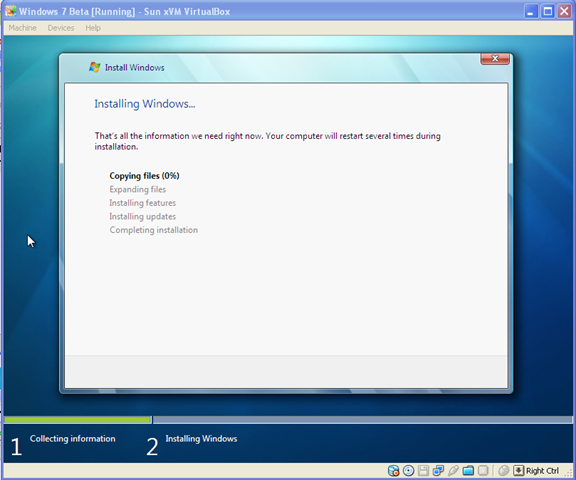
Installing…
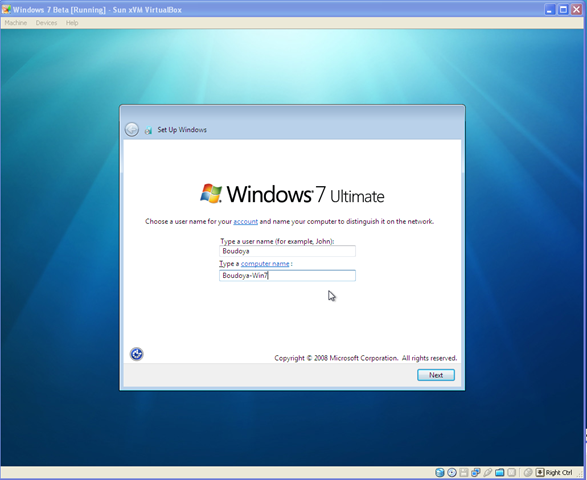
Enter your account and computer name. and enter your password on the next screen.
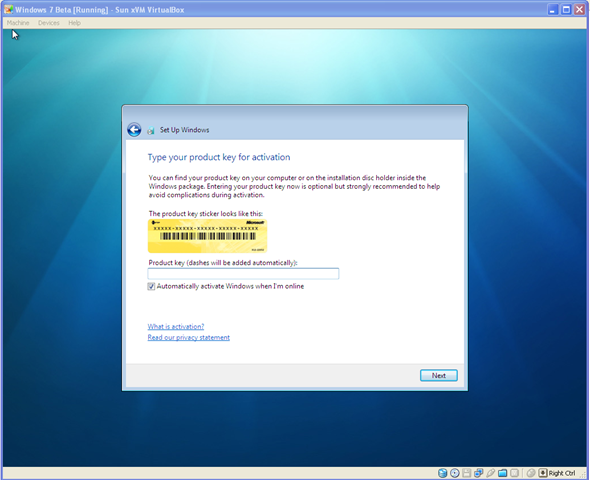
Enter serial number.
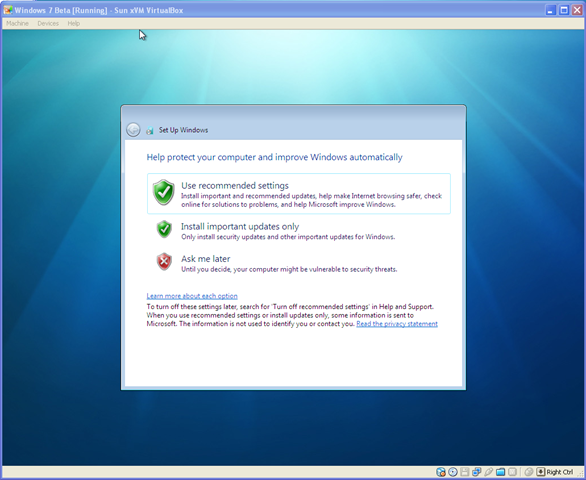
Set up windows updates.
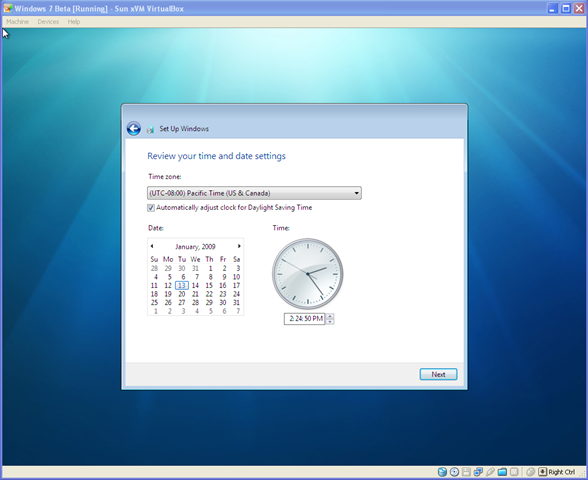
Review your time and date settings.
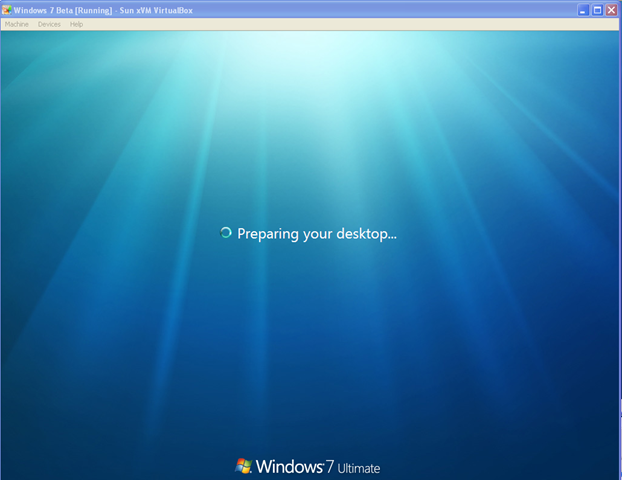
Windows 7 starting.
You should now see the Windows 7 desktop.
Now that it is in installed, more configurations are necessary to fix the sound and video and the network adapter. In the next post, I will provide the fixes. I hope that this article helped out to install Windows 7 and have fun with it.