
How To: Install Windows 7 on VirtualBox 2.1 - Create a virtual machine

Today, I will go through the step by step instructions to setup VirtualBox for Windows 7. First of all, You will need to install VirtualBox. Follow my VirtualBox installation guide from a previous blog post if you need the step-by-steps.

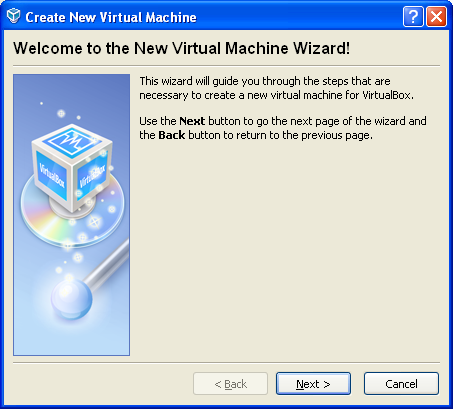
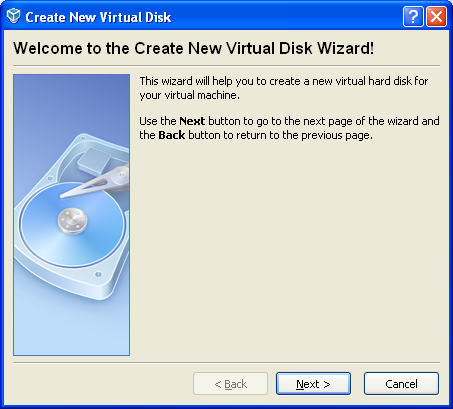
Clicking on the “New” button in the user interface will guide you through setting up a new virtual machine (VM). Click Next.
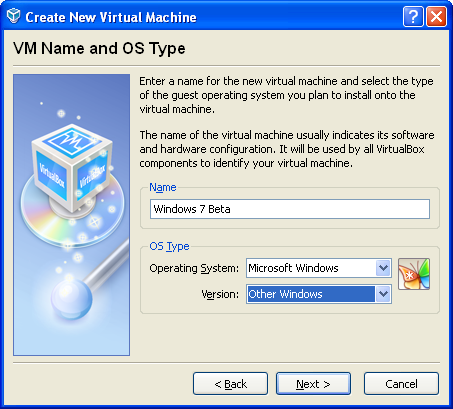
You must provide a name for your VM, and the type of operating system (OS). Click Next.
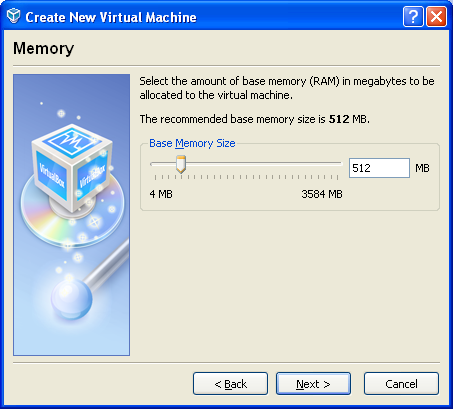
You must give the amount of memory (RAM) for Guest OS. **If your host machine has 1 GB of RAM and you enter 512 MB as the amount of RAM. Click Next.
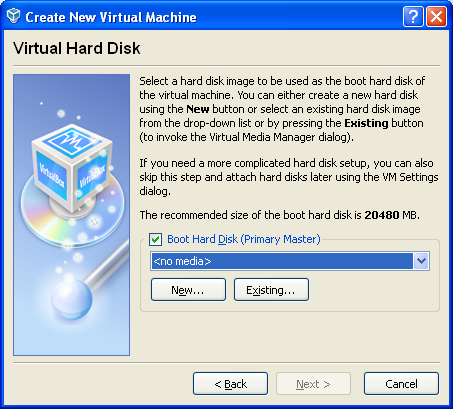
You must specify a virtual hard disk for your VM. Click New.
Click Next.
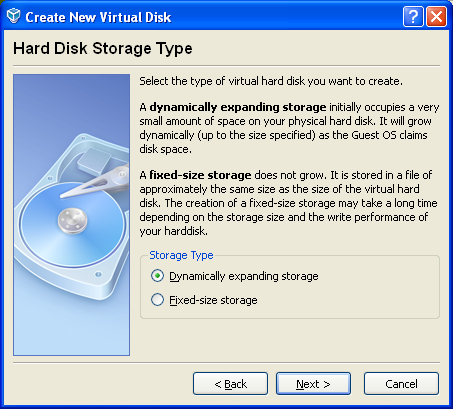
Select storage type “dynamically expanding storage”.
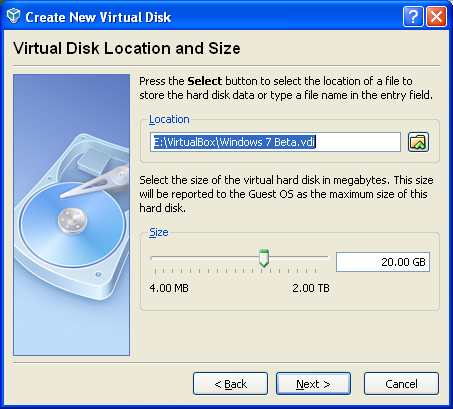
Specify space with 20 GB. Click Next.

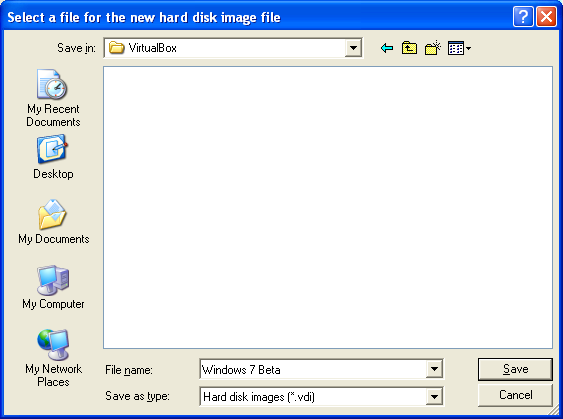
Pick a location on your drive to store the virtual hard drive (.vdi). Click Save
Click Next.
Click Finish.
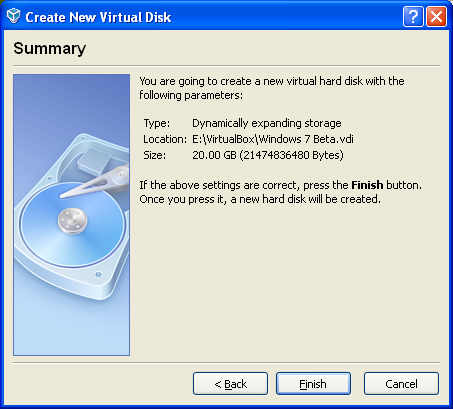
Now you get to review the virtual hard disk details.
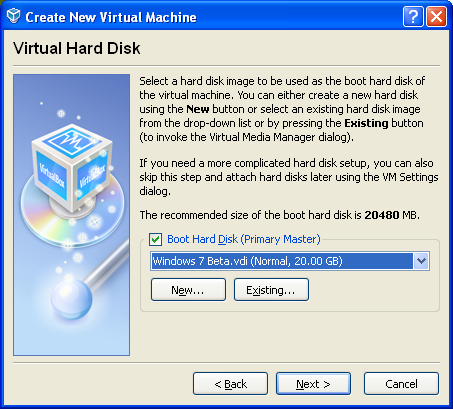
Finally, review the virtual machine details.

You are done with the virtual machine set up. You should see the main screen of VirtualBox.
Click the Start button to start the virtual machine.

My next blog post will go over the installation process of Windows 7 on VirtualBox.